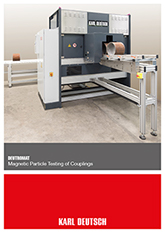
DEUTROMAT Testing of Couplings
Product Description
The inspection of pipe couplings for surface cracks is carried out with the aid of magnetic particle inspection. Up to 10 couplings fit on the infeed conveyor belt at the same time. After magnetization, the magnetised coupling wetted with the testing agent is positioned on a motorised turntable adjustable in viewing angle and direction for convenient visual inspection.
The inspected couplings are sorted to good and bad via two conveyor belt systems. The couplings judged to be good are conveyed out through a demagnetising unit.
The inspection is supported by MEMORY, a database in which many inspection specifications can be stored, also on an operator-specific basis. The appropriate data set for the automatic test parameter setting is then initiated for the individual test.
Key Facts
- Components (couplings):
Diameter: typically 60 mm to 370 mm
Length: typically 90 mm to 350 mm - Minimum field strength: 2.4 kA/m
- Cycle time: approx. 15 s (depending on viewing time)
- Specification: ASTM E709-08, API 5CT (9.14.2)
- Magnetising yoke: up to 32,000 ampere-turns
- Sorting belts: 3 m, each for good/bad
- MEMORY Data memory: 3000 components, 100 operators
(data may be customised)
Versions
Optional extensions:
- Infeed buffer (typically for 10 components with a diameter of 200 mm ea.)
- Rotating and tilting viewing table in the outfeed for convenient viewing of all surfaces via joystick
- Good/defective sorting via belts
- External demagnetisation by coil (partially encasing the outfeed conveyor for good couplings)
- DEUTROFLUX-MEMORY PLC parameter memory to manage test codes of different couplings and multi-level operator management
Further Information
Our comprehensive brochure:
Things to know and accessories:


